Floral Appliqué Tutorial

Leaves

Using knit fabric that is either matching or contrasting to your t-shirt, cut long narrow leaf shapes by folding fabric in half and cut a long strip wider in the middle and tapered to a pointed end. It can be a straight strip since it will be shaped later.

With matching thread and a long stitch length, sew a single row down the center of each unfolded leaf shape. Gather the stitching loosely to make the leaves. Pull the threads to the back and tie off securely.
Round Flower

Cut two different size circles and stack them. Next, sew a straight stitch in a circle inside the smaller circle of fabric. It doesn't have to be perfect.

Gather these threads so that a small bubble is formed in the center of the flower. Pull the threads to the back and tie securely.
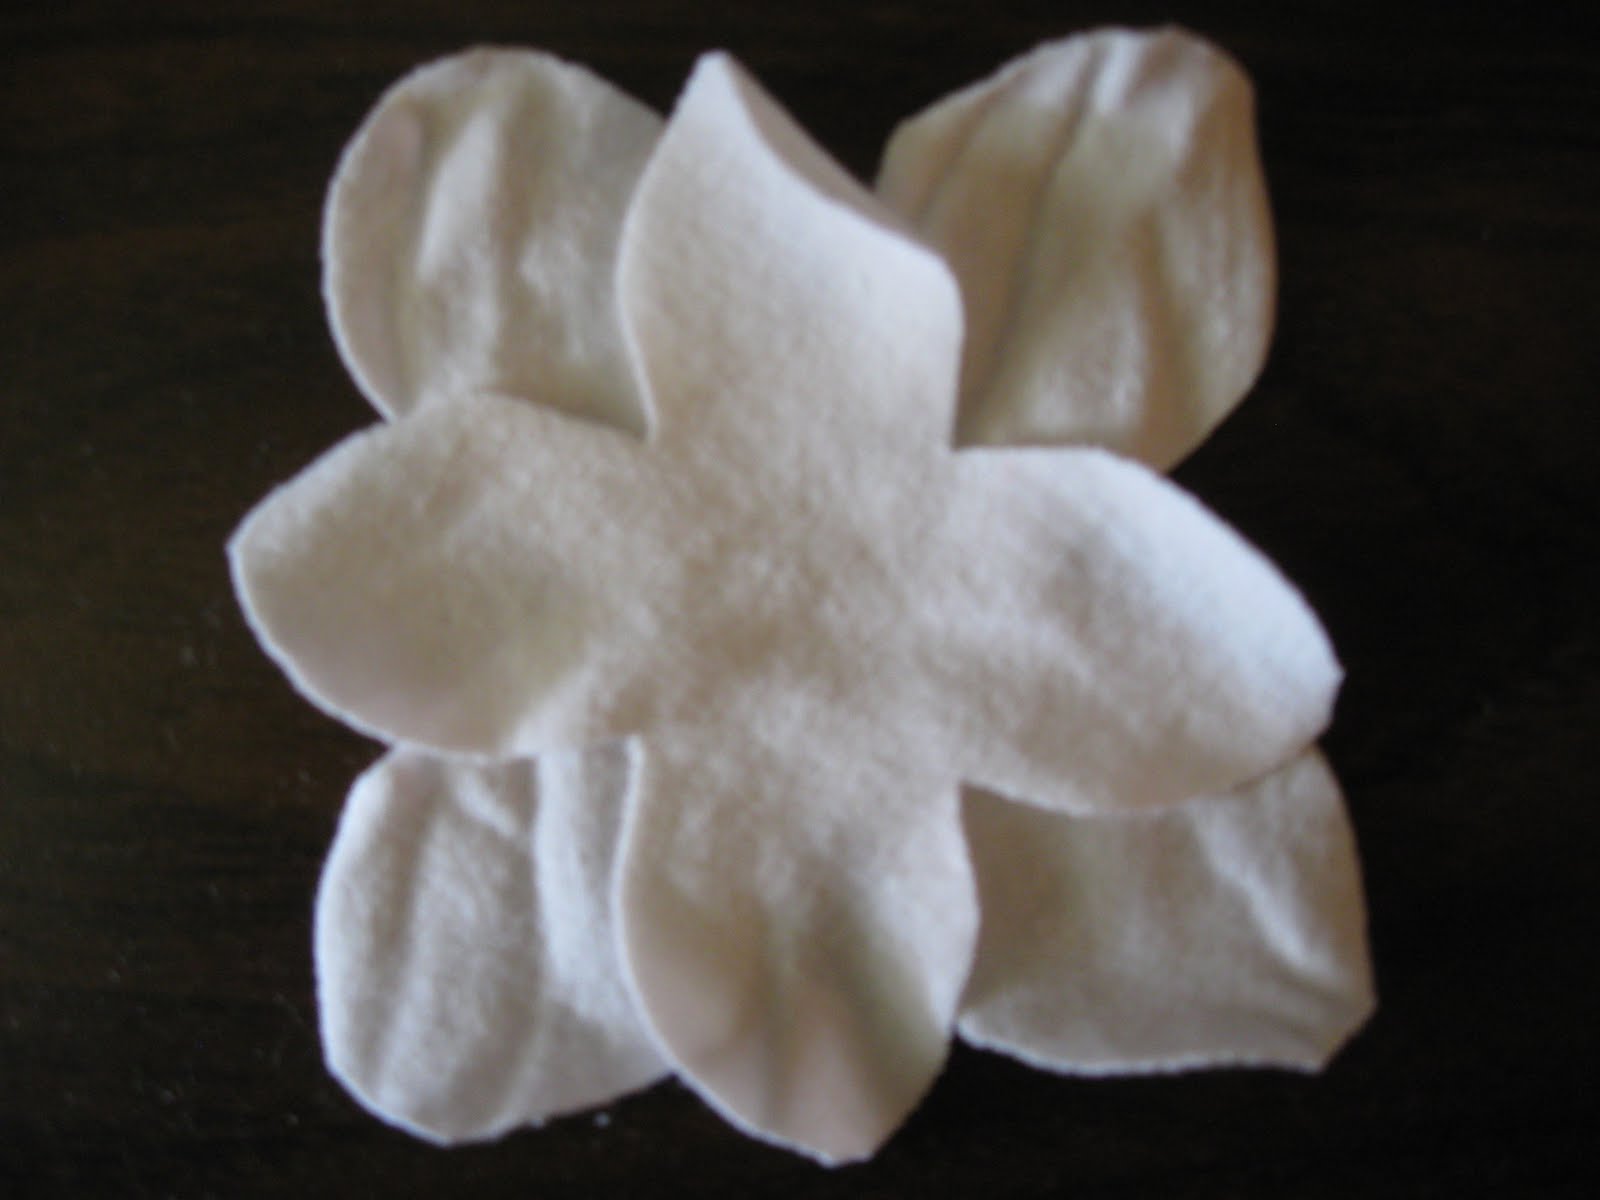
Petal Flower


For the shaped petal flower, fold the fabric in half and then in half again the other direction. Cut a modified teardrop shape so that when the fabric is opened, it will have a four petal shape. Make two of these--they don't have to be exactly alike.


Stack these shapes, rotating one so that the petals are off-set. Then fold the flower stack in fourths again and sew a few stitches across the bottom point. The threads can be tied or backstitched.

Once the flower is opened back up again, a jewel can be sewn into the center.

Arrange the flowers and leaves in a pleasing manner on your top and sew them down to the t-shirt neckline by hand.

Stack these shapes, rotating one so that the petals are off-set. Then fold the flower stack in fourths again and sew a few stitches across the bottom point. The threads can be tied or backstitched.

Once the flower is opened back up again, a jewel can be sewn into the center.
Arranging

Arrange the flowers and leaves in a pleasing manner on your top and sew them down to the t-shirt neckline by hand.
Lovely and you make it sound so easy!
ReplyDeletesdBev
Love your t-shirt, Sherril. Excellent post and tutorial, thanks. Glad to see you blogging and sewing again.
ReplyDeleteSherril, thank you so much for the tutorial. I think I'll have to make some flowers. Your top looks so good.
ReplyDeleteGlad to see you post. I wondered what had happened to you. Your T is fabulous. Thank you for the tute!
ReplyDeleteThis is so helpful. Thanks for sharing!
ReplyDeleteLove it, Sherrill. These flowers have really been intriguing me lately.
ReplyDeleteThank you for the great tutorial! I am thinking I will find a way to use it this winter! Glad to see you around, hope all has been well.
ReplyDeleteI came over from PR, and I absolutely love this! I want to try it - thanks for sharing the tutorial. I hope you do more!!
ReplyDeleteYay!!! You're back.
ReplyDeleteGlad to see you blogging again! I will definitely try this technique on my next knit top.
ReplyDeleteExcellent! I bookmarking this one.
ReplyDeleteThank you, Sherrill. Lovely T and nice to know that you are blogging once more.
ReplyDeleteThanks for the cute tutorial!
ReplyDeleteI just bought some fabric at the NW Quilt Expo that would be perfect for this detailing.
ReplyDeleteI will send post address when I do.
Thank you.
Thank you for sharing this, Sherril! the flowers are gorgeous!
ReplyDeleteRosei SV
I found your blog through Pattern Review. I love, love, love this embellishment! Thanks so much for sharing how you did it!
ReplyDeleteI also found your blog on Pattern Review. It is awesome! I love this tutorial. Thanks for sharing and I can't wait to read about more of your tips and techniques.
ReplyDeleteHello I just wanted to thank you for the tutorial I used it for a project I recently made. 4th photo down
ReplyDelete